This article will take you through the steps to create capabilities in the platform to better categorize your applications.
Contents
Importing capabilities via a CSV
Importing capabilities via a CSV
Portfolio (Tab) - Capabilities (Drop Down)
To import interfaces via a CSV select the 'Import Capabilities' button on the Capabilities portfolio page.
Download the template and enter each Capability in a separate row. Some template data is present, to help you in filling out the file.
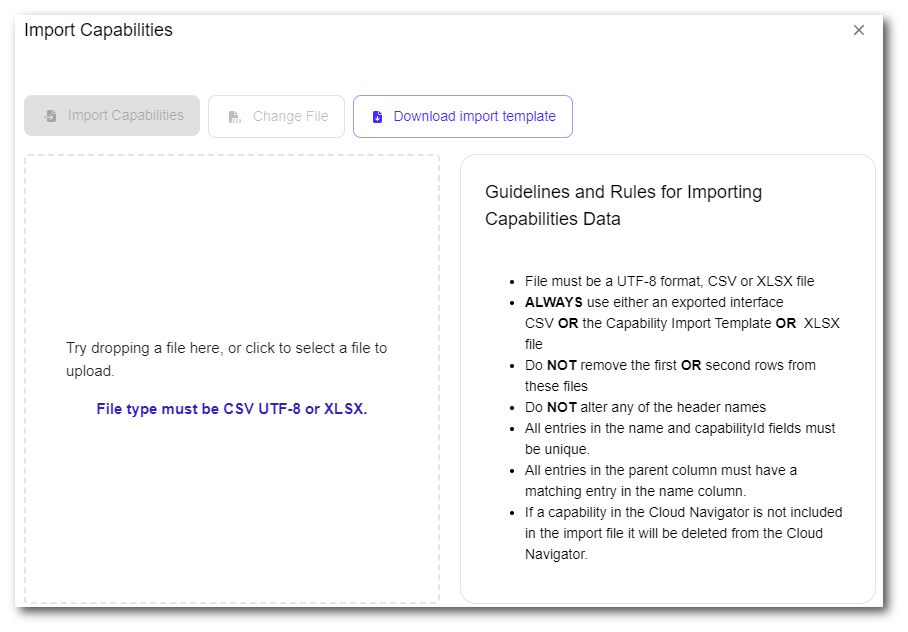
Either click and browse to the saved CSV file or drag it into the dotted area on the modal to upload.
Assigning capabilities
Portfolio (Tab) - Applications (Drop Down)
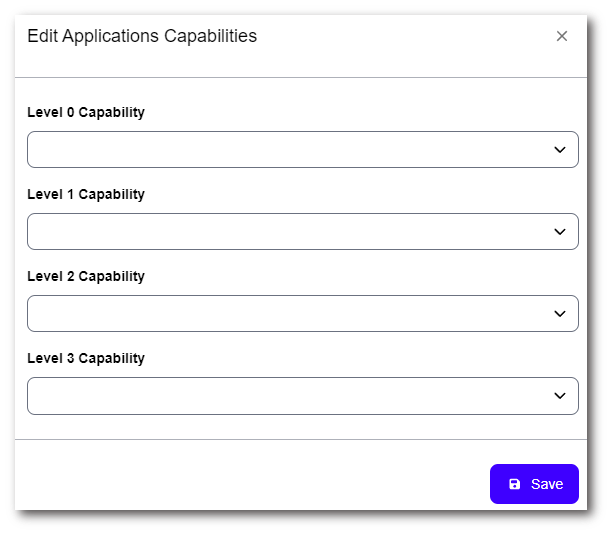
Within the Application Inventory page, select which applications you wish to associate to a capability. Once you have finalised your selection, press the ‘Add Capabilities To Apps’. This will then present a pop-up that allows you to select the capability. Based on the level chosen, it will affect other levels above it. For example selecting a Level 3 Capability will populate all other capabilities that the selected option falls under.
View assigned capabilities
Portfolio (Tab) - Applications (Drop Down) - Selected Application
Portfolio (Tab) - Capabilities (Drop Down)
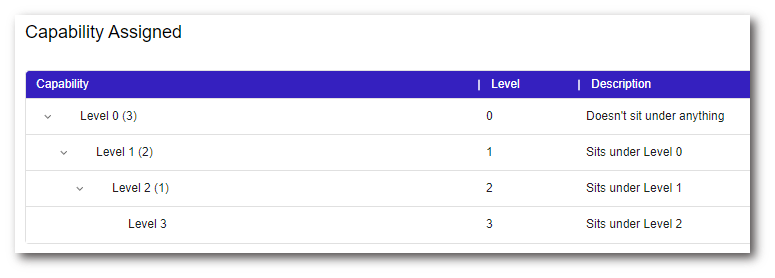
Within the a selected applications dashboard, you can scroll down and view the capability assigned against that application:
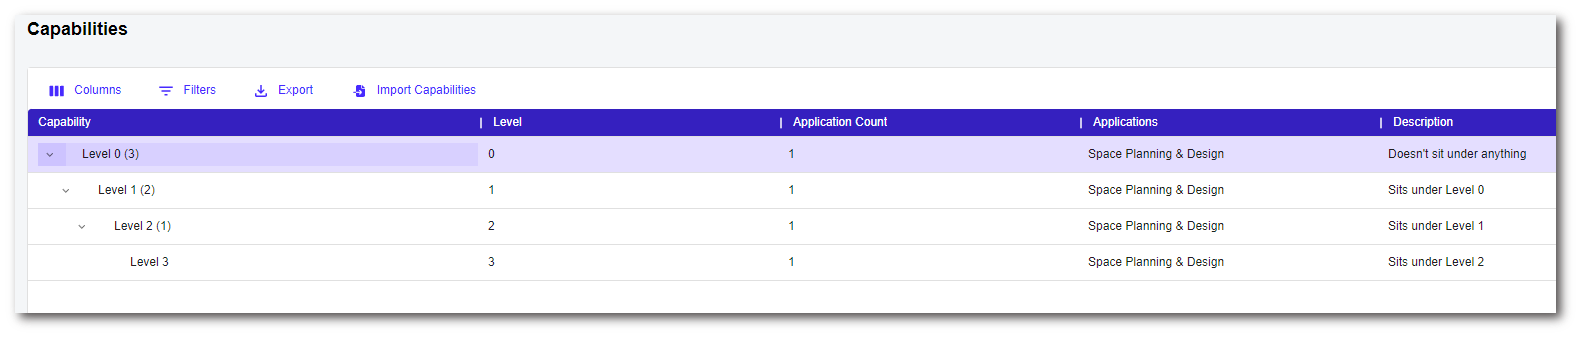
Alternatively you can view this at a wider scale via the Capabilities page. You can open up a capability and view applications associated:
To contact Cloud Navigator sales or support for any reason at all, simply email cloudnavigator-support.gb@softwareone.com and one of the team will get back to you. If your issue is urgent, please mark the email as URGENT in the subject line.