How to create an Azure Storage Account for use with Metallic
This document describes step by step creation of Storage Account with recommended settings for Metallic Backup.
Action | Detail |
|---|---|
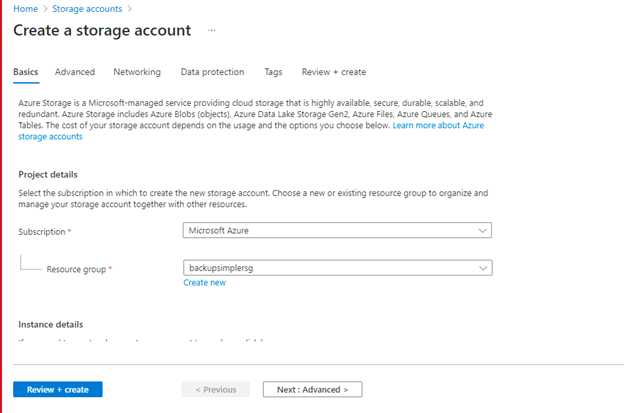
Sign in to Azure portal | |
On the resource menu, or from the Home page, under Azure services, select Storage accounts. The Storage accounts pane appears. |  |
On the command bar, select Create. The Create a storage account pane appears. | |
|   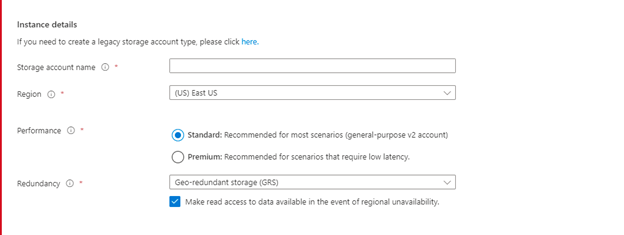 |
Select Next : Advanced | 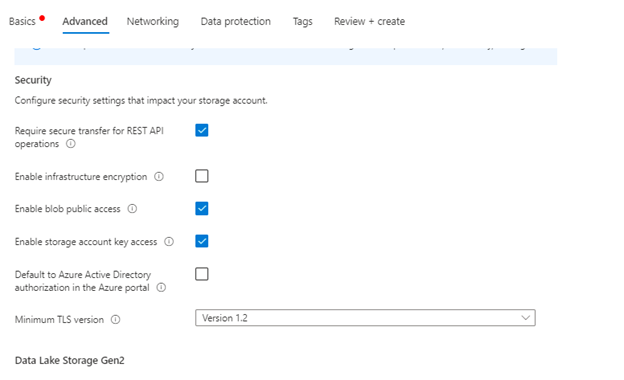 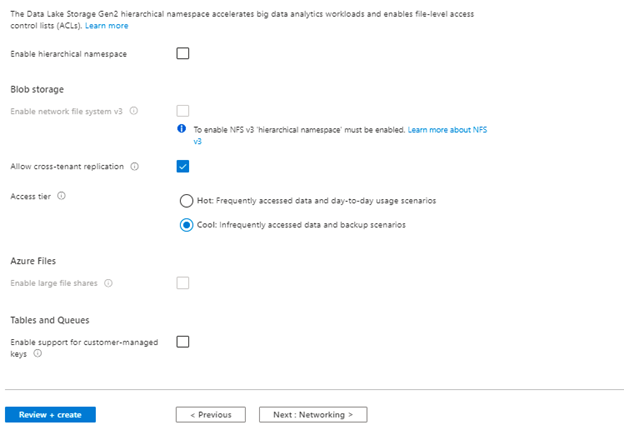 |
Select Next : Networking. Enter the following values for each setting. Please leave default options. To configure restricted Azure BYOS storage for Metallic, you must add Metallic as a resource to your Azure Virtual Network (VNET). Contact Metallic Support to request a Metallic subnet resource ID. In the ticket, include the Azure region where your azure storage account is located. Metallic Support will provide the subnet ID, which you can configure on your storage accounts using the following Azure CLI command:
CODE
| 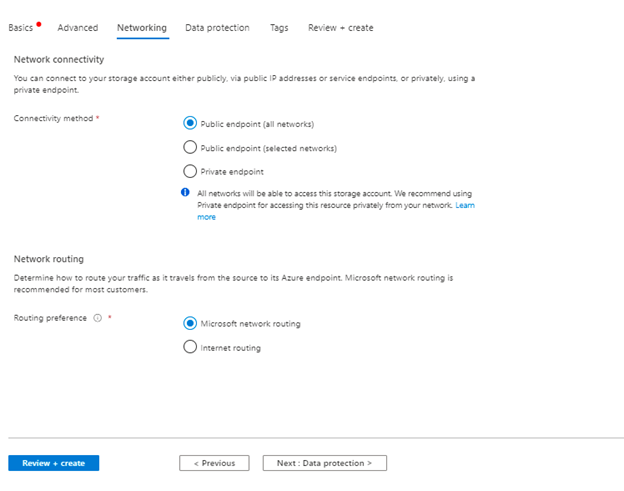 |
Select Next : Data protection. | 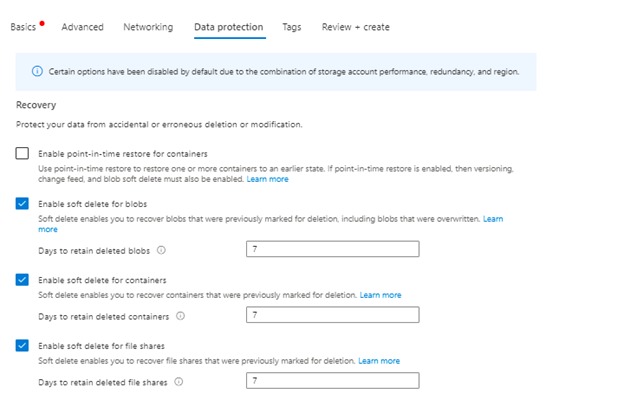 |
Select Next : Tags. | 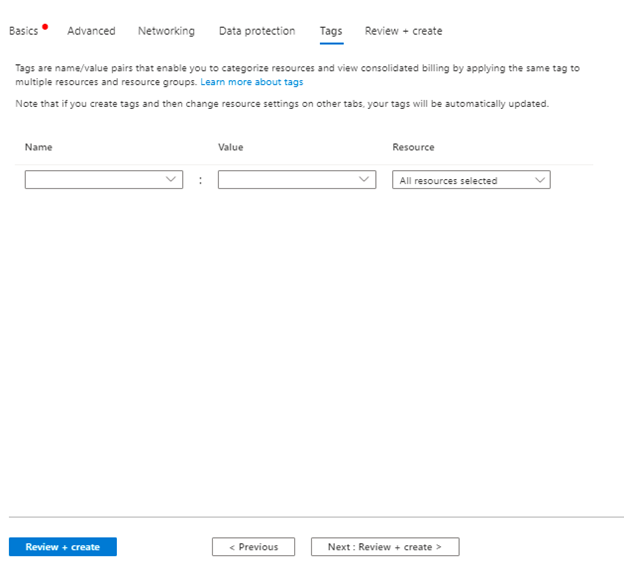 |
Select Review + create to validate your options and to ensure all the required fields are selected. If there are issues, this tab will identify them so you can correct them. | |
In order to have a successful restoration of the Virtual Machines from the backup please make sure to add the 2 API permissions on the storage account’s IAM role. |
|
When validation passed successfully, select Create to deploy the storage account. |